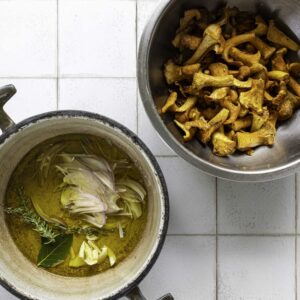
Mushroom Confit
Bathe your shrooms in olive oil with garlic, shallots, and herbs.
Living a short walk down the street from a well-stocked market is a blessed thing. For two years, we were very close to a place that had a dangerous combination of everyday staples, fresh produce, and tons of tasty impulse-purchase items. I developed a tinned fish habit (Angelo Parodi sardines for less than $2.50 a tin!) and was generally spoiled by an extensive cheese case, fresh pasta cut to order, a stellar butcher counter that cured its own salami and had a hot, crispy porchetta in the window every Friday, and shelf upon shelf of premium Italian dry goods.
Calabrian chiles came home with us countless times from that market. These magical chiles became a regular purchase for several reasons, most of them having to do with pizza. We had recently acquired a baking steel and the Roberta’s cookbook, so we were baking pies every other week. Plus, we were regulars at a pizza place that offered a side of chopped up Calabrian chiles on the menu. We always ordered them because, along with anchovies, they are the perfect post-bake pizza garnish. The chile oil they’re packed in glosses over the toppings, seasoning every bite. In fact, you can think of them as chile oil with a pickled pepper bonus. Their briny-tangy-spicy flavor pairs so well with cheese!
I developed this recipe when, in the midst of all this pizza-making, I found fresh Calabrian chiles at the farmer’s market. The store-bought jars are not exactly cheap, nor are they widely available, so after a bit of research and several attempts, this recipe was born. My source for the chiles dried up long ago, but any diminutive red chile will work. I typically go for red serranos, but cayenne varieties would do well here (the heat level will vary, obviously).
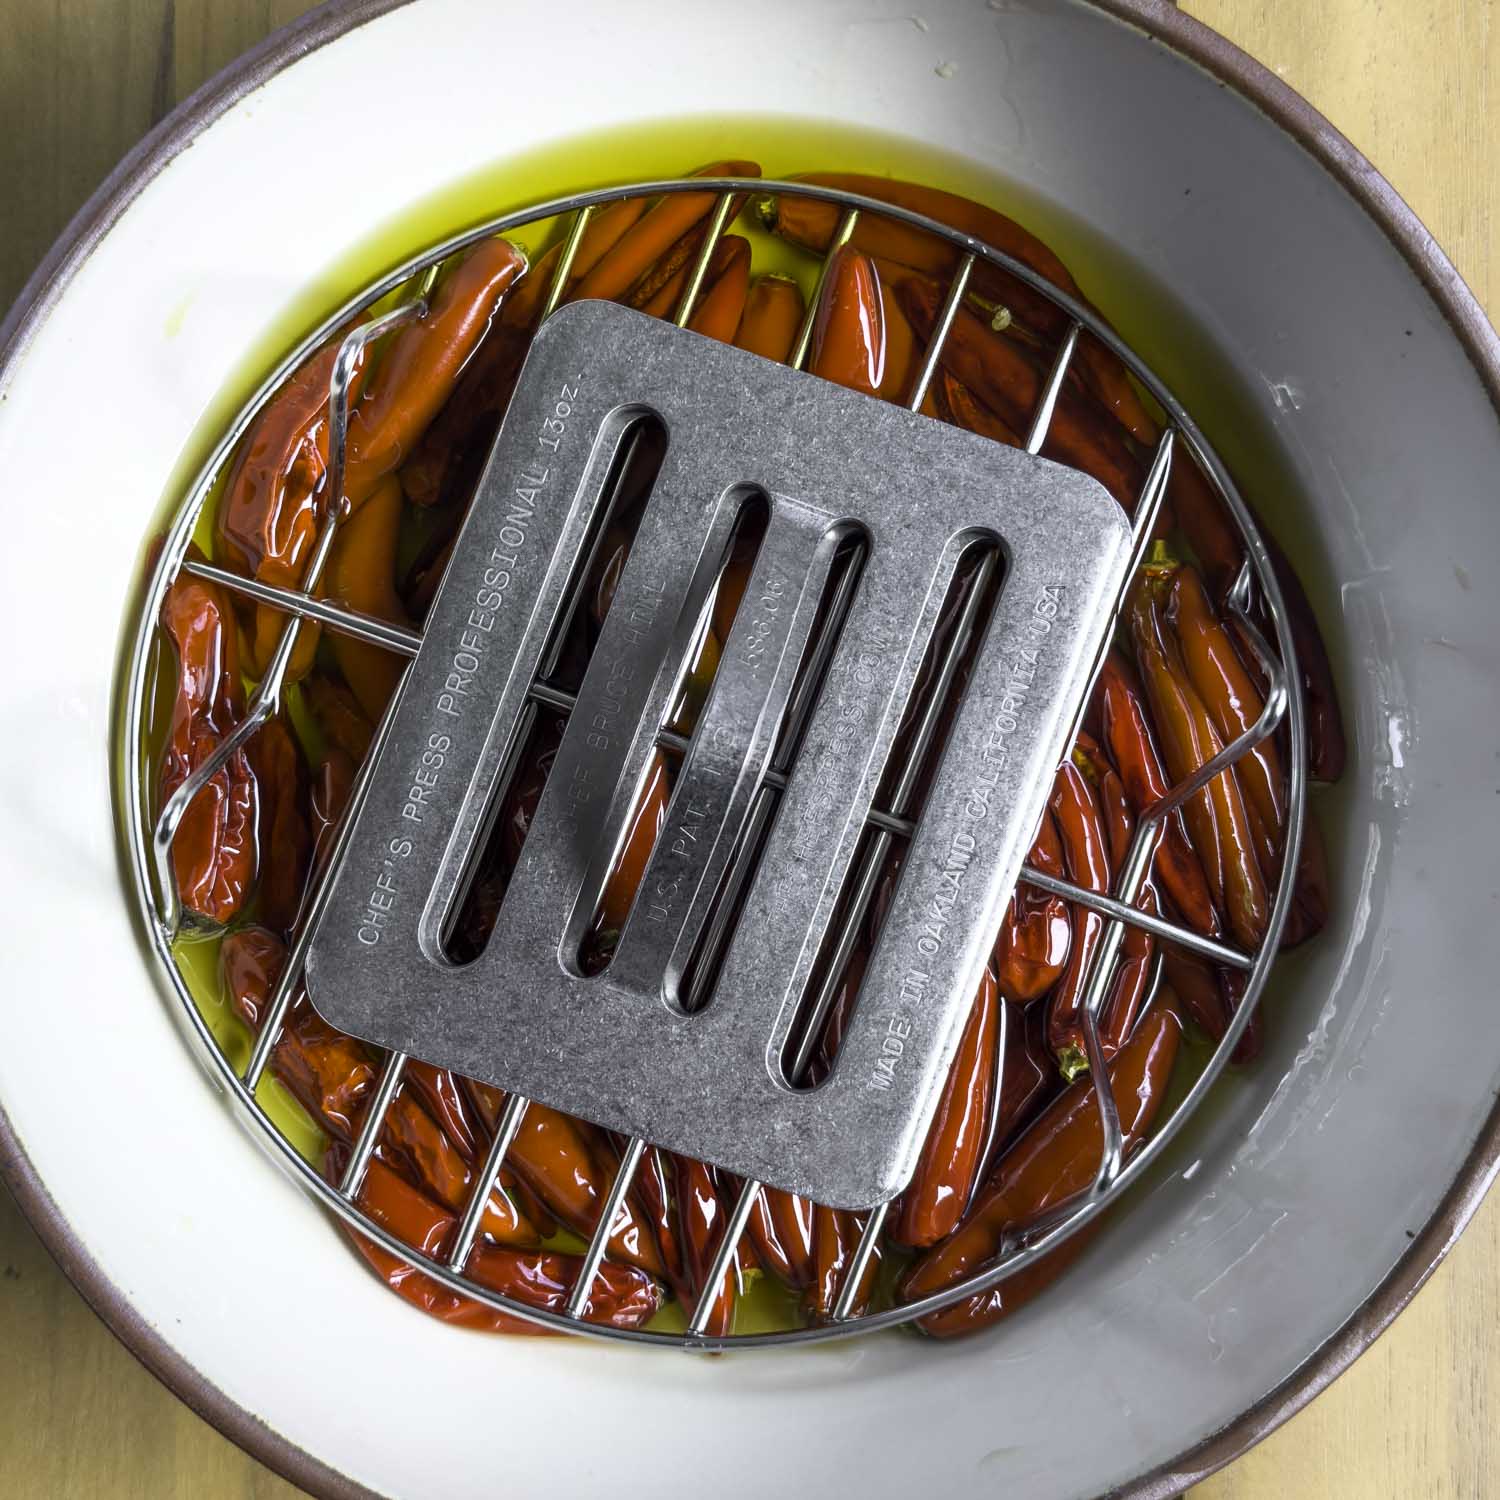
This recipe uses several preservation techniques: The peppers are salted and drained overnight, pickled, then partially dried, and “confited” in olive oil. Each step helps reduce the chance of spoilage, first by driving out moisture, then acidifying the peppers. Gently drying the peppers reduces moisture even more. I used our dehydrator here, but a low oven works just fine. Finally, submerging the peppers in olive oil protects them from oxidizing or growing molds that need air to survive. Keep in mind that, despite these steps, the peppers are still not considered shelf-stable by the USDA and must be refrigerated.
Though these delectable chiles take multiple days to prepare, once the raw peppers are slit open and seeded, there is very little labor involved. More importantly, you get three wonderful ingredients from one batch of peppers: chile-infused vinegar, chile-infused olive oil, and the chiles themselves.
The briny, chile-infused vinegar can be used as you would any hot sauce. It’s especially good sprinkled on cooked greens. You could certainly bring it to a boil and use it to quick-pickle other vegetables. The chile-infused olive oil is great for bread dipping or marinating vegetables and cheese. Whole or roughly chopped chiles are superb for topping pizzas, but they’re also great for giving heat to a dish—we’ll frequently chop up a few and add them to Utica greens (find our recipe on page 234 of the 2019 edition). They also work well as a topping for pasta dishes. If you process them into a chunky purée, the resulting paste is perfect for smearing on sandwich bread.
Don’t be dissuaded by the multi-day prep time! Try this once and we are confident you will be doing it every year.
Wearing protective gloves, trim off any long stems and slit open lengthwise on one side:
1 pound fresh red chiles, such as serrano, cayenne, Fresno, or jalapeño
Scoop out most of the seeds and white ribs (a grapefruit spoon does this very well). Pour into a medium heatproof bowl:
1/2 cup (67g) Diamond kosher salt
Press each chile into the salt, making sure each one is thoroughly coated on the inside.
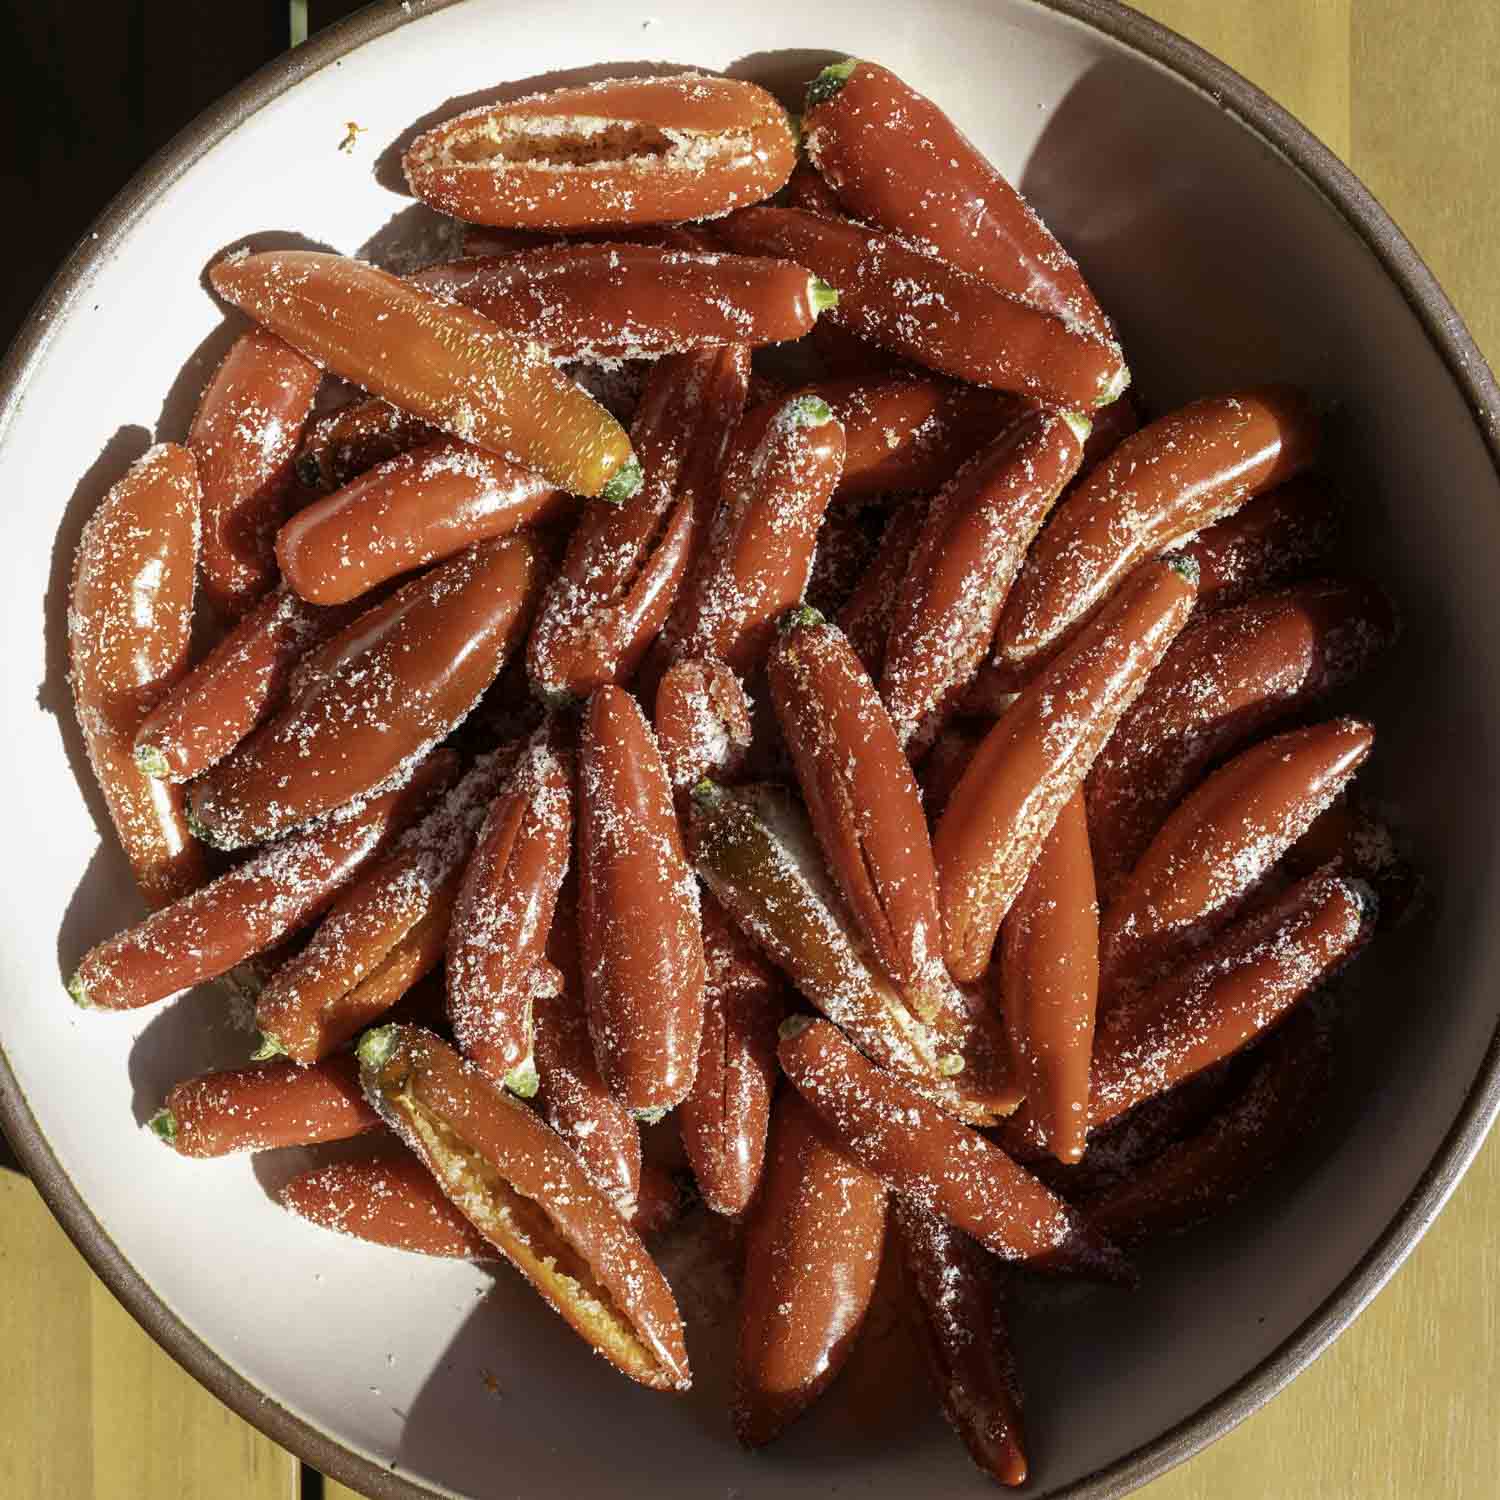
When all the chiles have been salted, toss them with any remaining salt and place them in a colander over the bowl. Cover and let the chiles drain overnight.
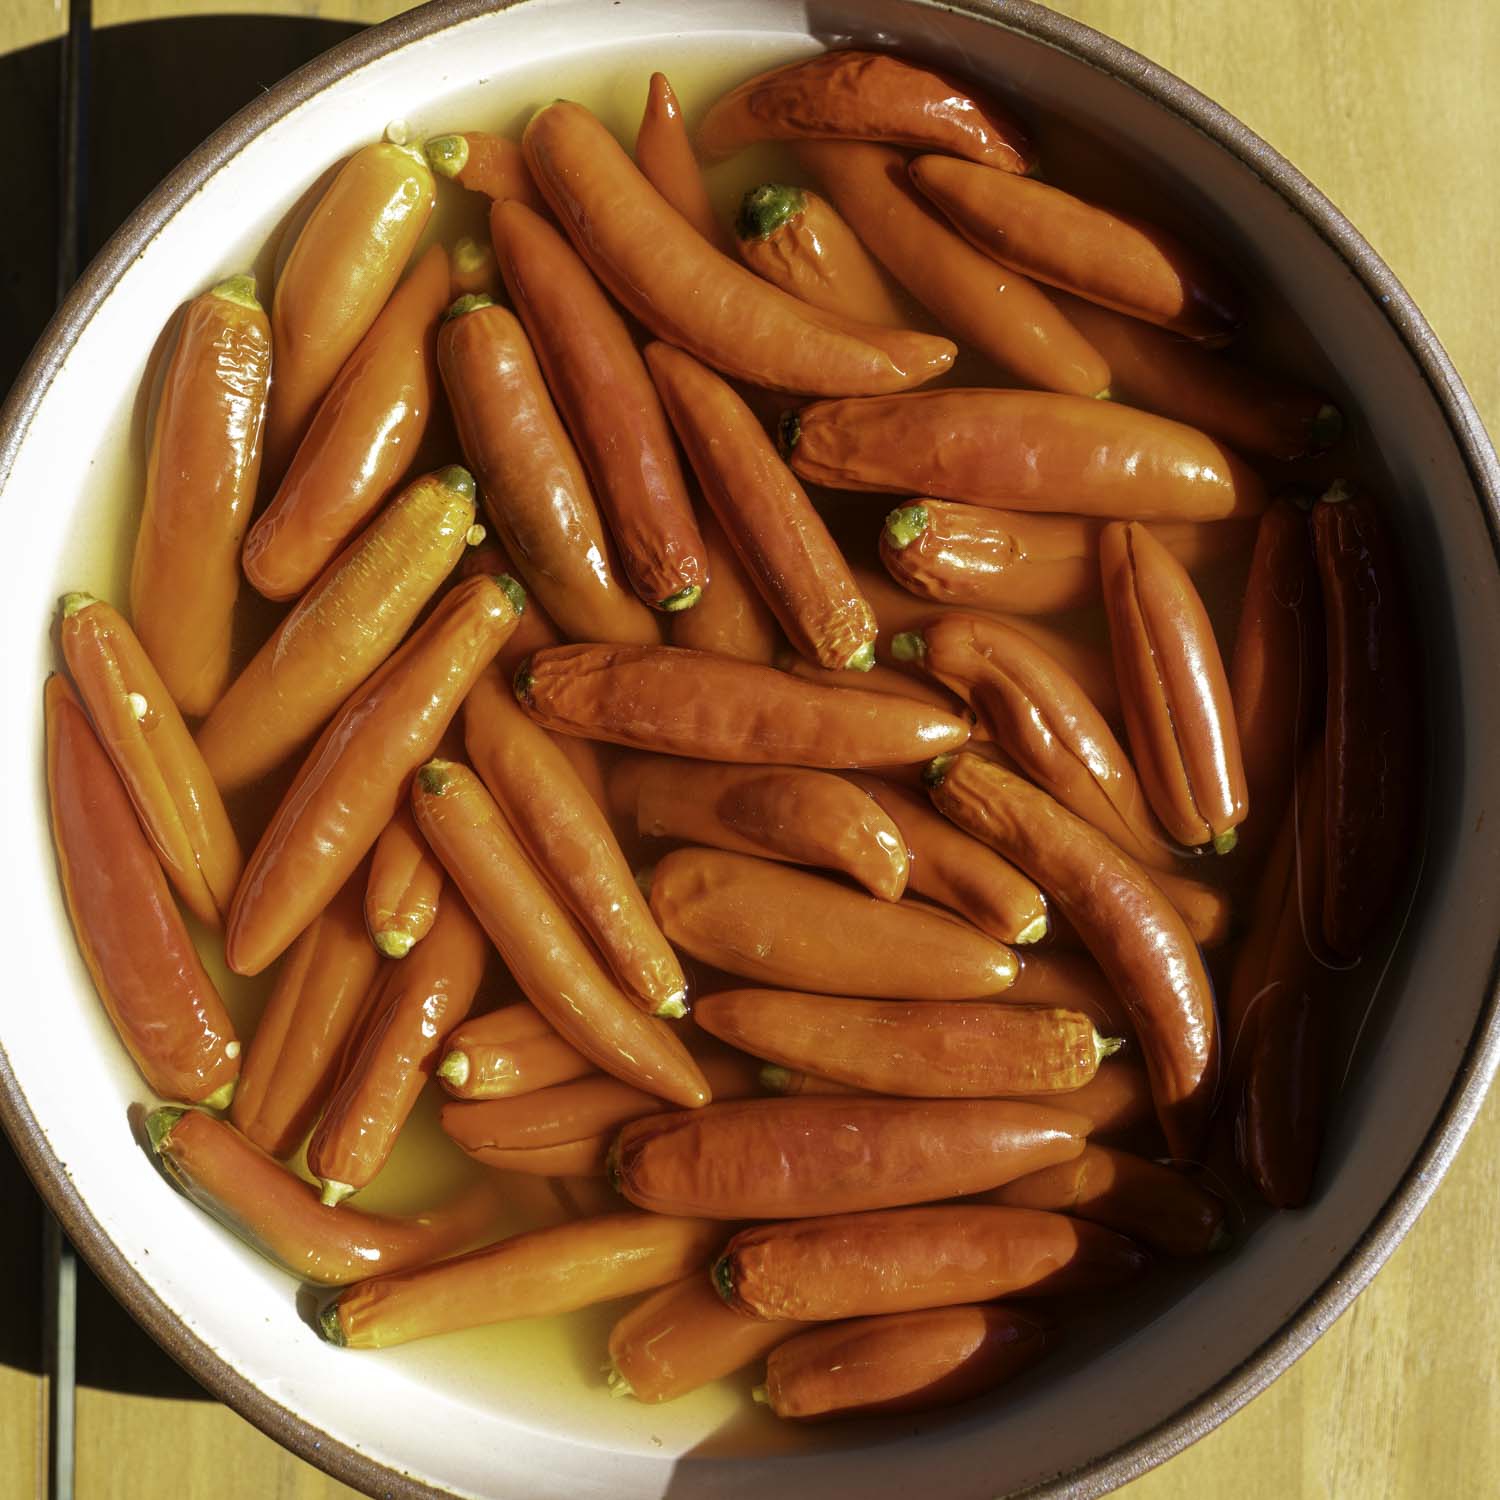
In the morning, discard any liquid in the bowl. Transfer the chiles to the bowl, shaking off any loose seeds or salt. Bring to a boil in a medium saucepan:
1 quart white wine vinegar
Pour the hot vinegar into the bowl, submerging the chiles (if necessary, weight them down with a small plate). Once cool, cover and let the chiles steep overnight.
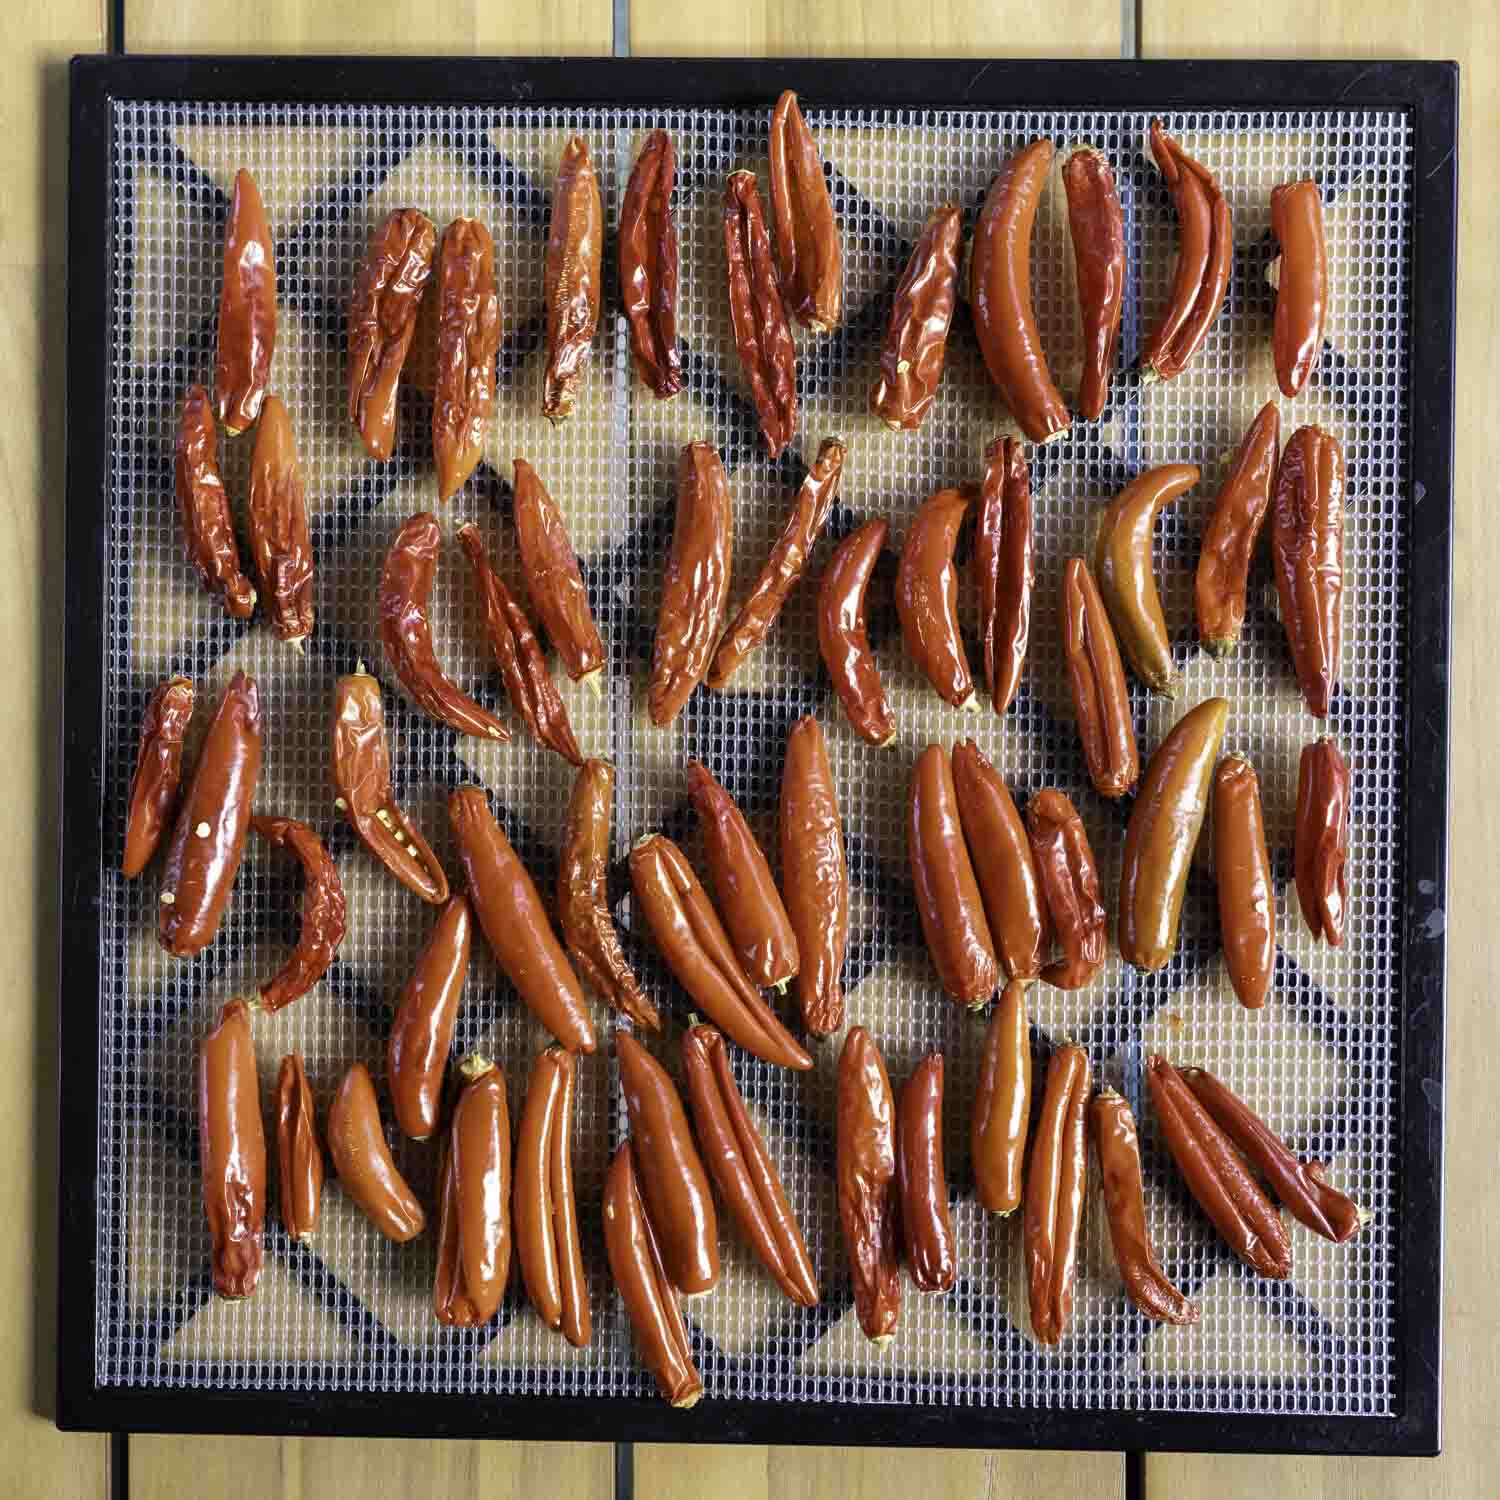
Preheat the oven to 190°F. Drain the chiles through a fine-mesh sieve set over a bowl to catch the infused vinegar (reserve this vinegar for other uses; it can be stored in a bottle or jar at room temperature). Place a metal rack on a baking sheet and lay the chiles on top in one layer, leaving a little space between them. Dry out the chiles in the oven until the skins begin to wrinkle, about 2 hours (do not let them get crispy). Alternatively, place the chiles in a dehydrator set to 125°F for 3 to 4 hours.
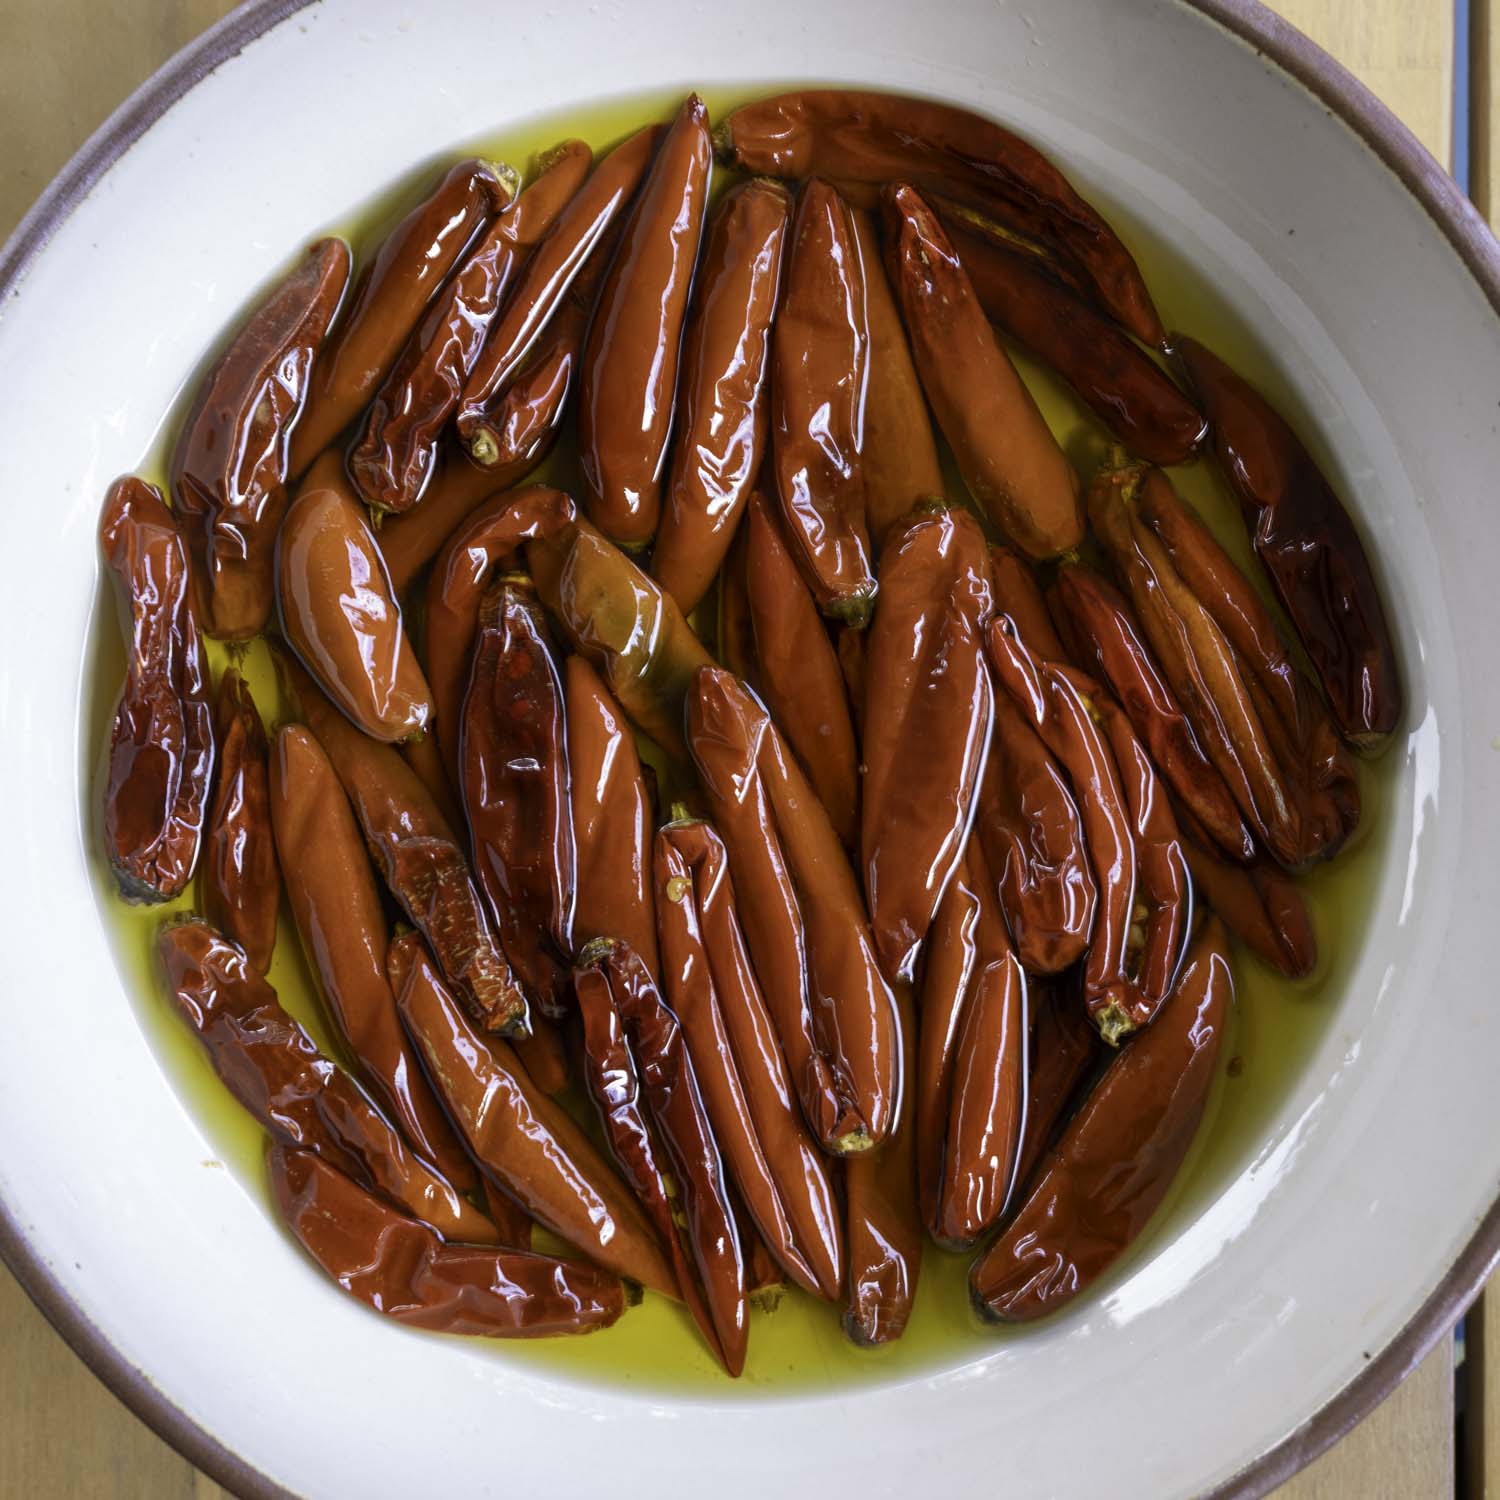
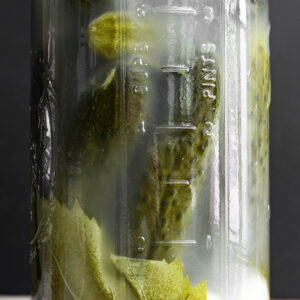
When the chiles are cool enough to handle, tightly layer them in a small baking dish (to ensure that no oil spills, you can set the baking dish on a rimmed baking sheet). Increase the oven temperature to 200°F and pour over the chiles:
2 cups olive oil
Be sure they are covered with oil (you may place a loaf pan or other ovenproof weight on top of them if necessary). Bake for 2 hours.
Let cool completely. Pack the chiles into a sterilized quart jar, cover with the olive oil, and refrigerate indefinitely.
To use the chiles, fish them out of the oil with a clean fork, discard the green calyx where the stem used to be, and roughly chop or use whole. After being in the refrigerator for a while, olive oil solidifies and turns opaque. Simply scoop out the desired number of chiles with their oil into a small bowl and allow them to sit at room temperature until the oil liquefies.
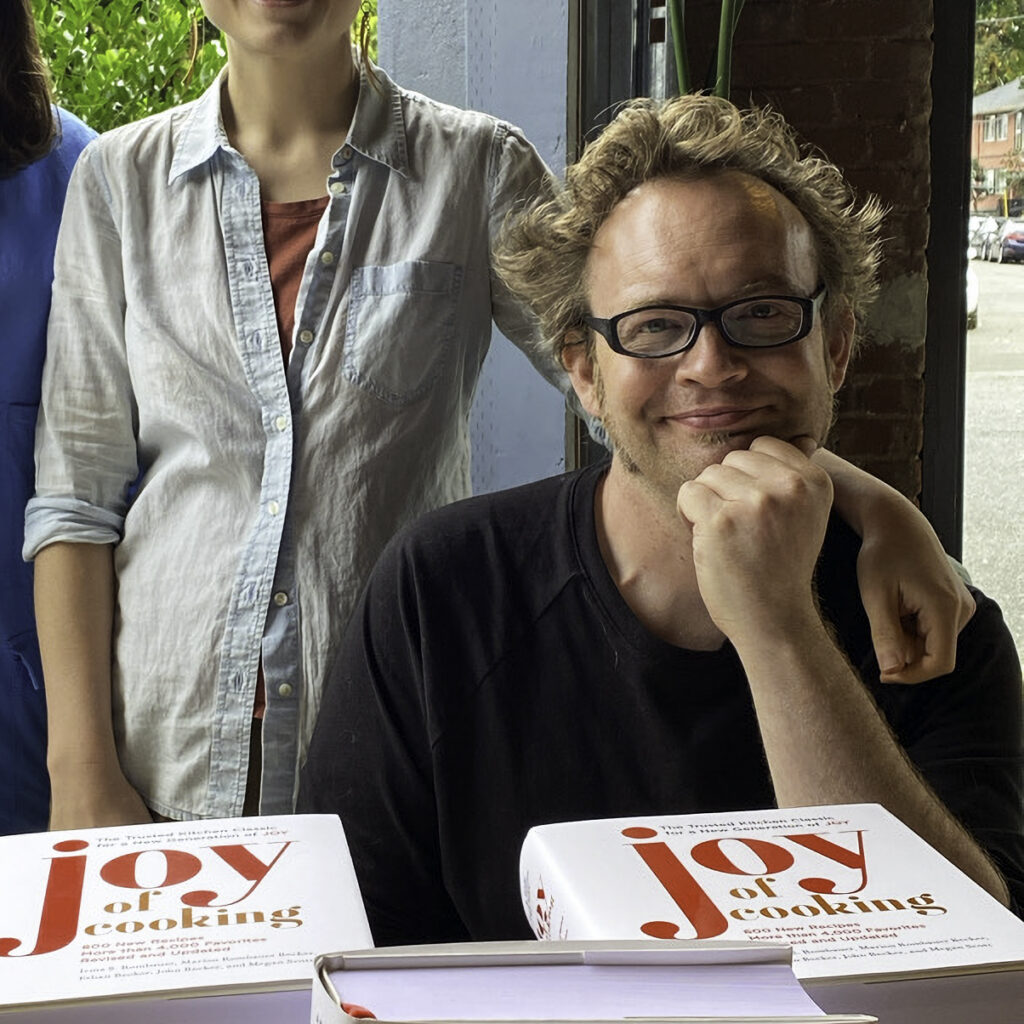
John Becker, Irma’s great-grandson, is the fourth generation co-author and steward of the Joy of Cooking. John has a background in literature, research, and critical writing. Influenced by his father Ethan’s improvisational style and his mother Joan’s love of international foods and spices, John started experimenting in the kitchen at a young age, whether in his mother’s Portland, Oregon condo or at the Becker family home in Cincinnati, Ohio. Many decades later, he continues to revisit Joy’s classic dishes while exploring new recipes, ingredients, and ways of thinking about home cooking.
Things that are true about John

Bathe your shrooms in olive oil with garlic, shallots, and herbs.

All these spicy pickles take is a little patience and a few minutes to fry the Sichuan pepper, dried chiles,…
Six ingredients, minimal prep, patience, and an assist from lactic acid bacteria.